Sr20det Top Feed Fuel Rail Install
Introduction
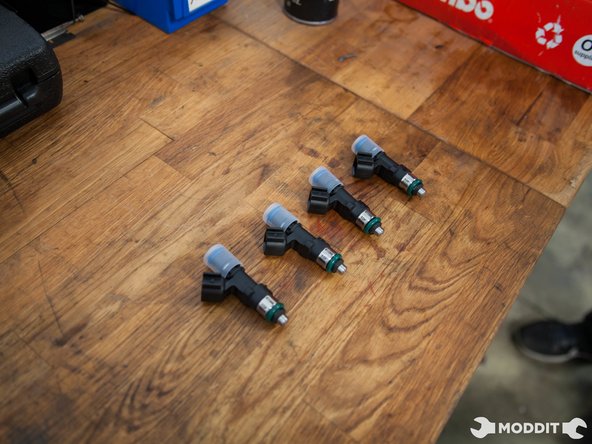
The install of this fuel rail is fairly straight. It converts the injectors from Side feed injectors to top feed. This install will cover the removal and install of the OEM fuel rail, stock Injectors and will show the install of the Radium Fuel Rail and Top Feed Injectors.
-
-
First step in removing the fuel Rail would be to depressurize the system. Remove the gas cap and pull the fuel pump fuse. Run the car til there is no more fuel in the lines and the car dies.
-
Then start by un-clipping the injectors from the harness.
-
-
-
Then Locate any other part of the harness that is connected to the rail and unbolt it.
-
We un-did the ground wire and removed a clip by the intercooler piping.
-
-
-
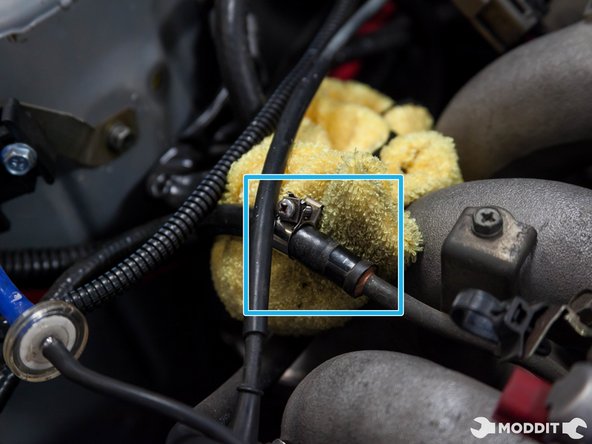
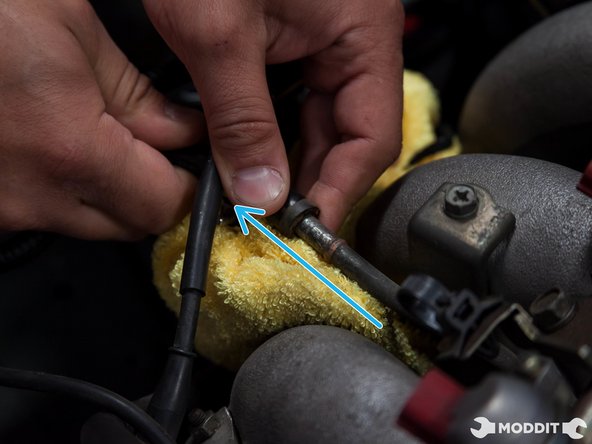
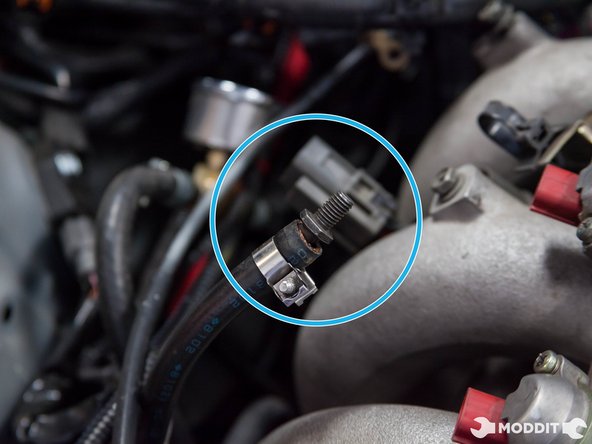
Then remove the fuel feed line and plug it so it doesnt spill. Note: Have a rag handy so the fuel does not spill all over the place.
-
-
-
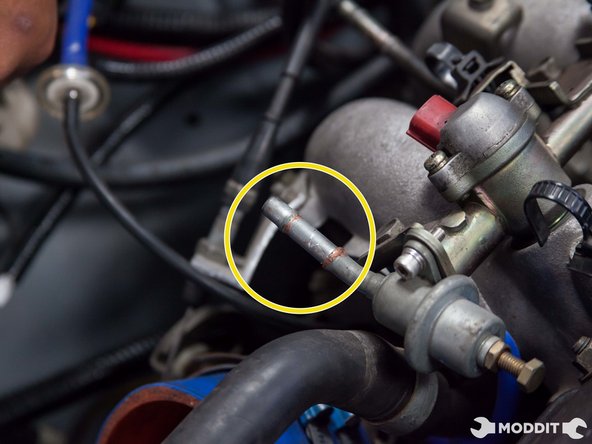
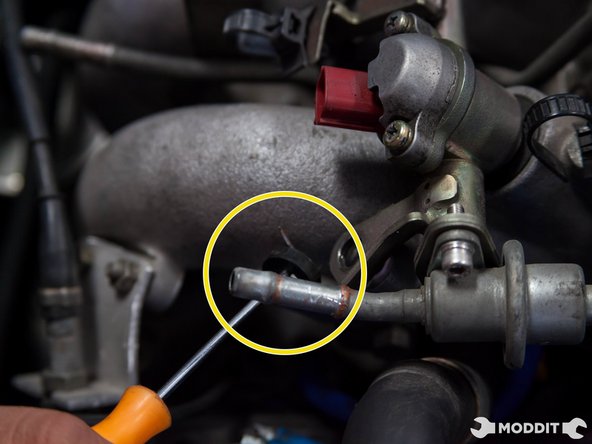
After removing the fuel feed line, remove the fuel return line from the fuel pressure regulator next.
-
Be sure to have the rag hand just in case of a fuel spill.
-
-
-
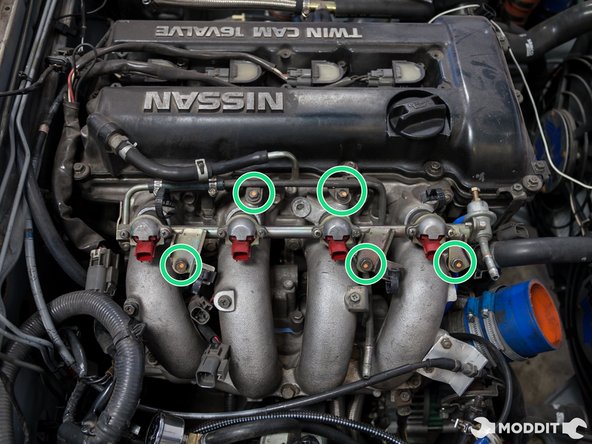
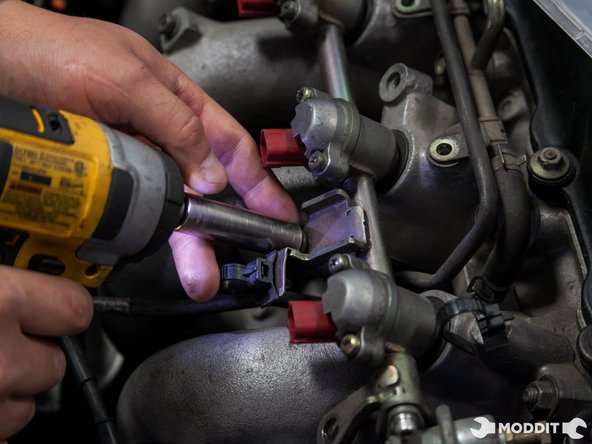
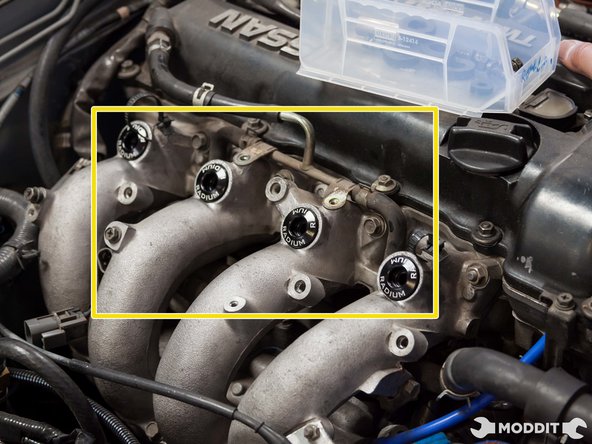
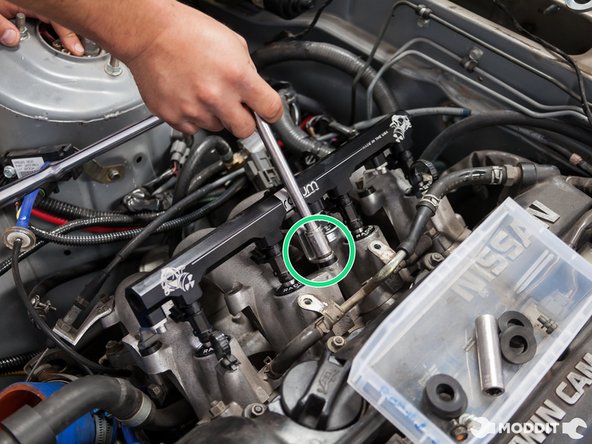
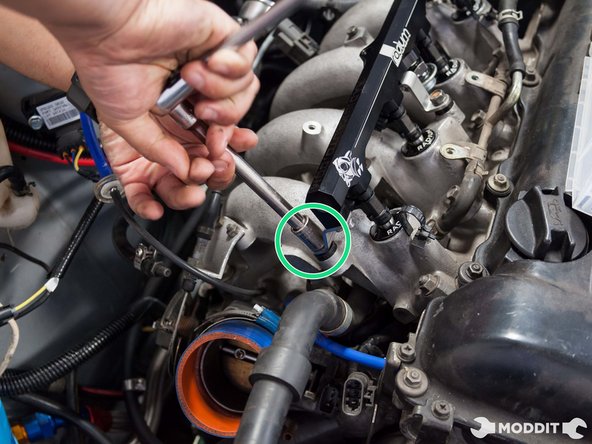
After the removal of the hoses, start removing the bolts that hold the rail to the intake manifold.
-
There 5 bolts total to be removed with a 10mm socket.
-
-
-
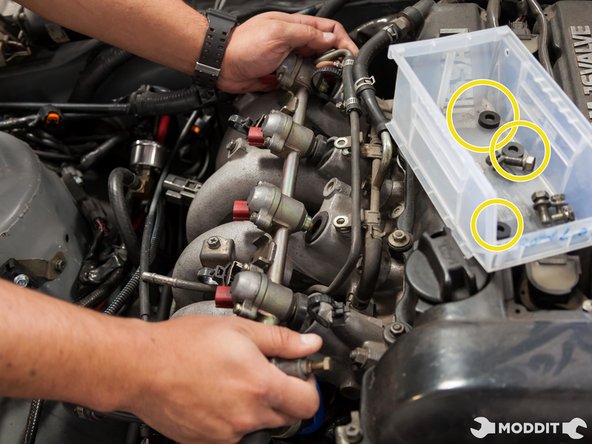
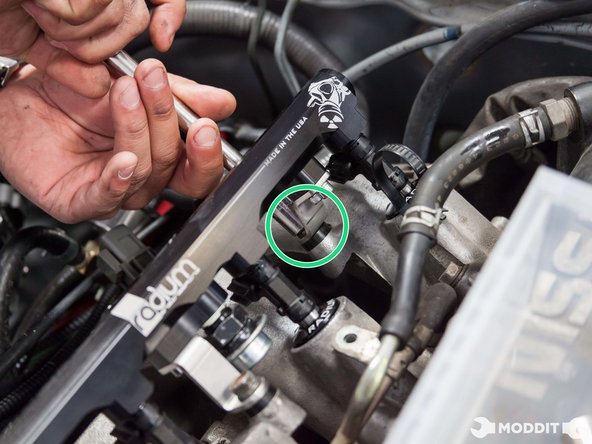
When removing the bolts, be careful not to drop the spacers that are under the fuel rail tabs.
-
-
-
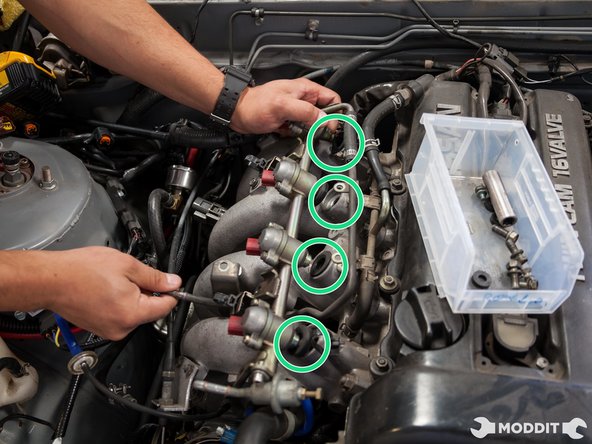
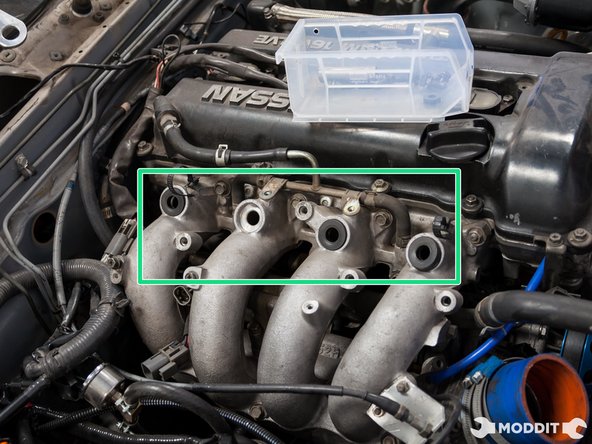
Be sure to remove all the injector seats and set them aside.
-
-
-
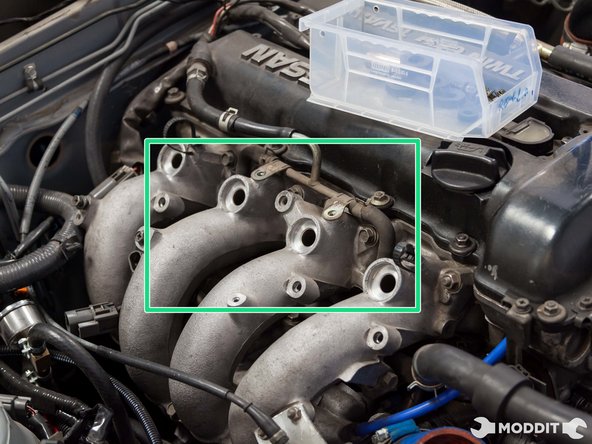
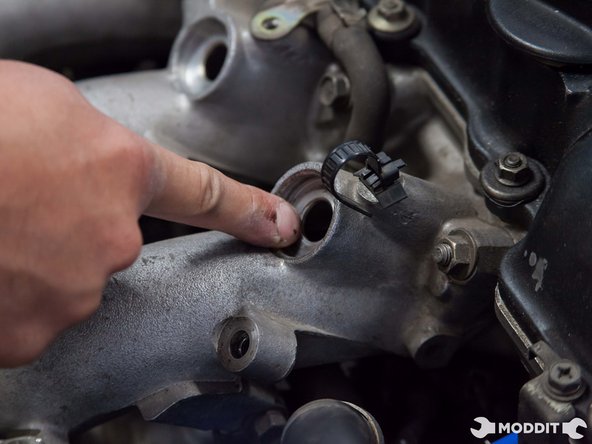
Start the install by cleaning the area where the old injector seats were.
-
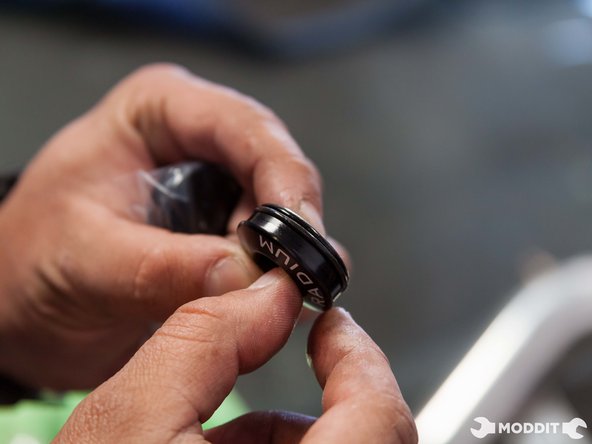
Then use some lubrication on the new injector seats from radium and add some on the o-ring as well.
-
New motor oil will work just fine.
-
-
-
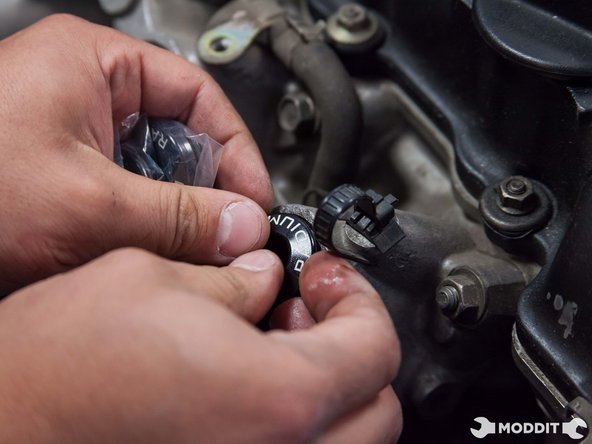
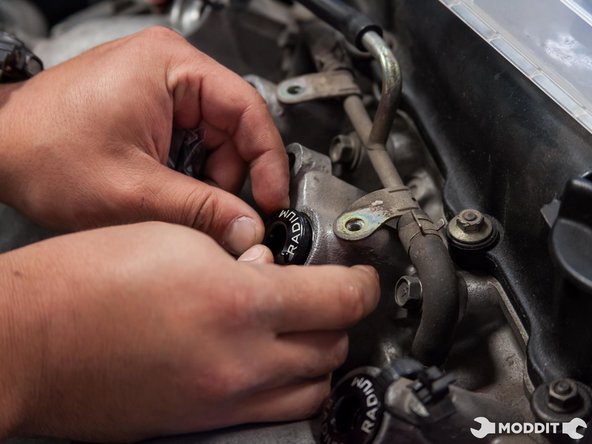
Proceed to lube and press in the injector seats into the intake manifold.
-
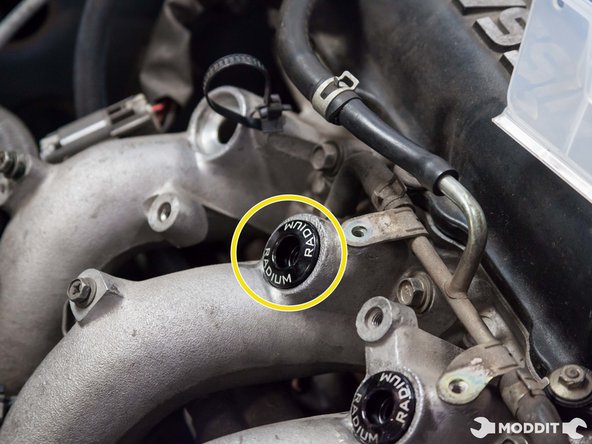
Install the rest of the injector seats to the intake manifold and confirm they're all the way in
-
-
-
After the injector seats are inserted, the fuel rail is ready for the injectors.
-
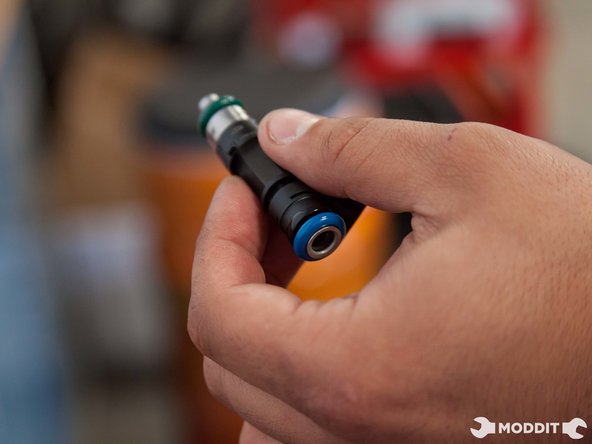
Dab the injector o-rings with oil or some sort of lubrication and carefully insert each one into the fuel rail.
-
Depending on your own preference, you can point the injectors upwards or downwards for their connectors.
-
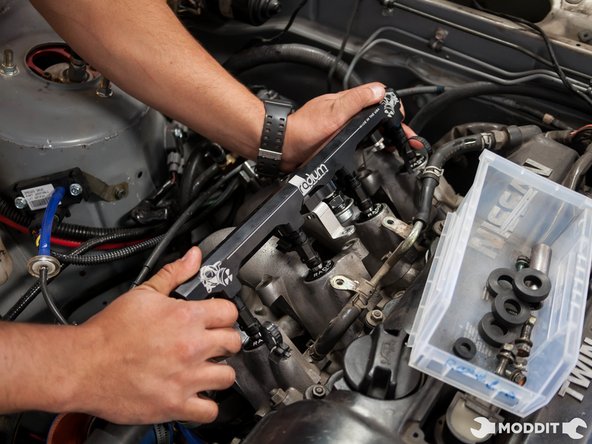
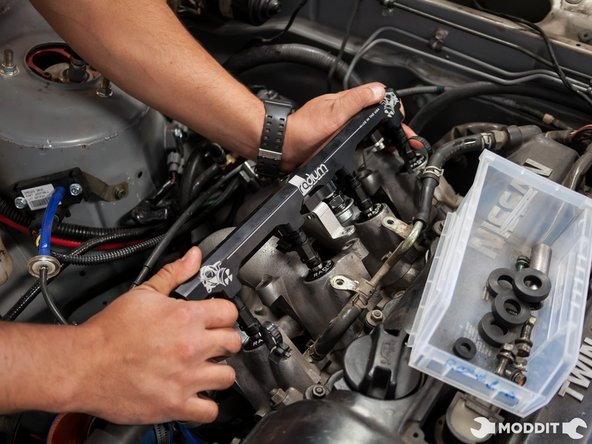
Then you are ready to insert the injectors into the intake manifold with the fuel rail.
-
-
-
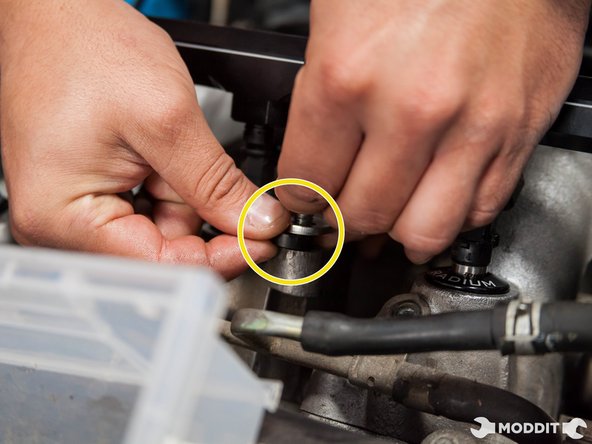
Once the injectors are lined up, evenly press the rail with the injectors into the intake manifold.
-
Be careful when doing so to avoid damage to the injector o-rings.
-
You should hear a pop or click sound when inserting into the injector seats.
-
-
-
After all injectors are seated properly, its time to tighten down the fuel rail.
-
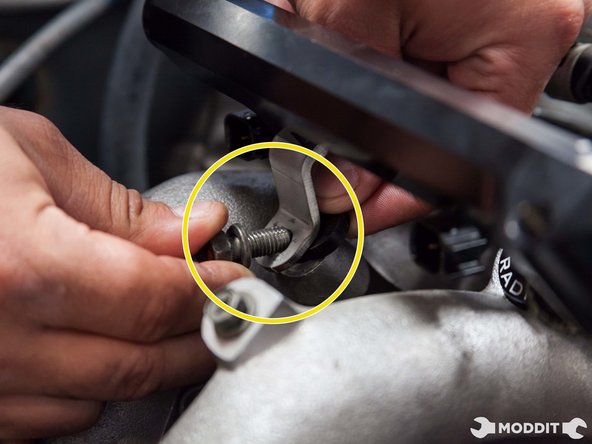
Before adding the screws, do not forget to put the fuel rail spacers in between the fuel rail and the intake manifold
-
These spacers will make sure that everything is lined up properly.
-
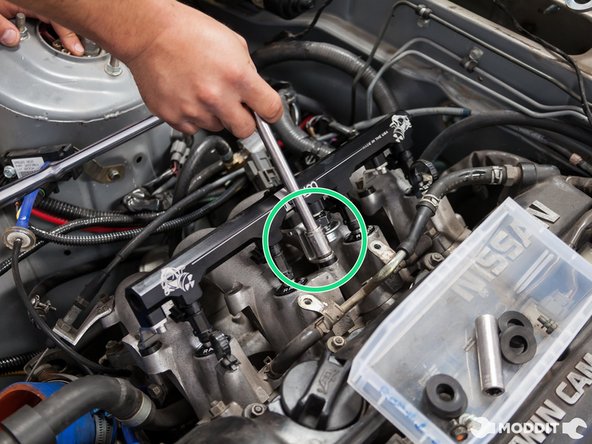
After the spacers are in an the rail is snugged up, its time to tighten it own.
-
-
-
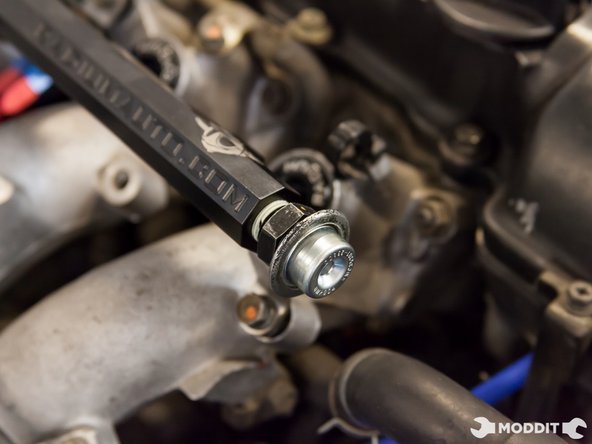
Tighten down the fuel rail to the factory recommended torque specs.
-
-
-
During our install, we were not able to put the fuel pressure gauge on the rail as it was hitting our hood. So we opted to install a fuel pressure regulator on the vehicle.
-
The fuel pressure regulator contains the gauge and will need creative mounting to become usable.
-
We also mounted the fuel damper on the front of the rail as the rear of the rail goes to the fuel pressure regulator.
-
-
-
After everything is tight and installed properly, plug in your fuel lines and connect the injectors.
-
Conclusion
An upgraded fuel rail allows for better flow and better control over the fuel system's efficiency in your vehicle.
Embed this guide
Choose a size and copy the code below to embed this guide as a small widget on your site / forum.
Preview
Source: https://www.partsdocs.com/Guide/How+to+Install+a+Radium+Fuel+Rail+and+ID1000+Injectors+on+a+Nissan+240sx+SR20DET/91






Post a Comment for "Sr20det Top Feed Fuel Rail Install"